Powered by Developer Arena
BY AREA
BUILD YOUR OWN SET
BUNDLE SETS
BY WAX TYPE
ACCESSORIES
PROFESSIONAL SERIES
BY FEATURE
SKINCARE AND BATH
VIEW ALL PRODUCTS
VIDEO TUTORIALS
HOW TO GUIDES
MORE HOW TO GUIDES
FAQS
MORE FAQS
Not sure where to start? start here
HOW TO GUIDES & FAQS
WHY PARISSA
HELP
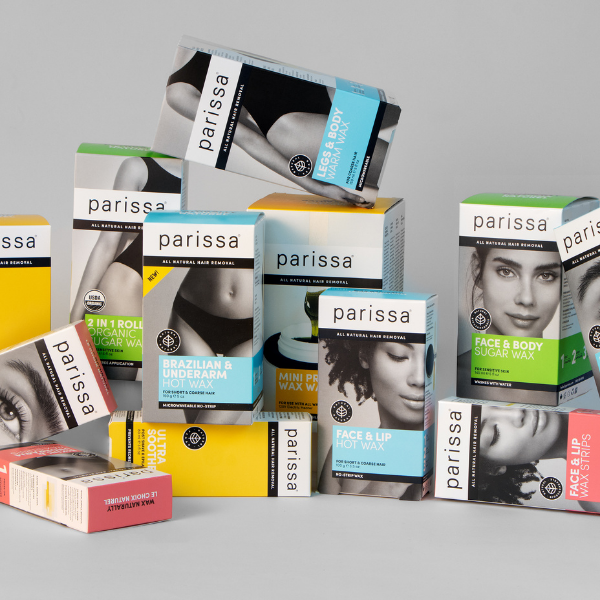
Parissa 40
Why Customers Love Our Wax
If you run into trouble or have any questions, visit our FAQs or contact us directly and we'll be happy to help you out.
We use cookies on our website to give you the best shopping experience. By using this site, you agree to its use of cookies.